

Match Masters Boosters and Perks are two of the game’s most important strategic systems, but they serve different purposes. Boosters are charged during a match by collecting blue stars, while Perks provide an additional ability selected before the match.
Choosing the right combination can significantly affect how you approach a game, particularly when you’re deciding how much risk to take with valuable boosters.
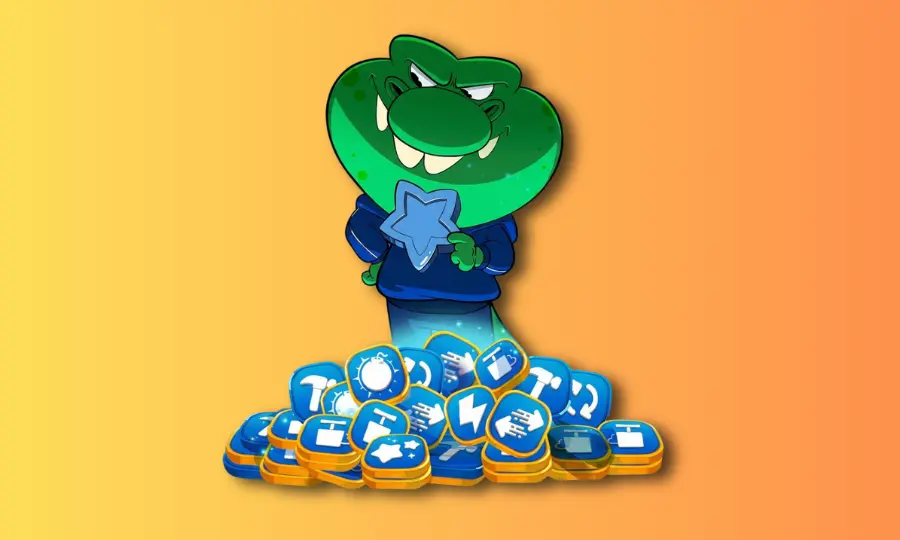
This guide explains the difference between boosters and perks, how booster rarity tiers work, what common perks do, and how to choose the right combination before a match.
Related Guides:
Match Masters Boosters vs. Perks: What’s the Difference?
| Boosters | Perks | |
|---|---|---|
| When you use them | Mid-match, once charged | Once per match, any time you choose |
| How they’re charged | Matching blue star pieces | Not charged — selected before the match starts |
| Risk if you lose | Forfeited | Free perks are kept; Premium perks are lost |
| How they’re upgraded | Duplicate cards from events, Super Spins, sticker albums | Not upgraded — unlocked at trophy milestones instead |
Match Masters Booster Rarity Tiers Explained
Boosters run through five rarity tiers — Bronze, Silver, Gold, Diamond, and Legendary (including Special Edition variants). Higher tiers hit harder but usually need more blue stars to charge.
Diamond boosters go a step further with multiple upgrade stages: collecting duplicate cards for a booster you already own pushes it to a stronger stage rather than giving you a second copy.
Common Match Masters Perks and What They Do
| Perk | Effect |
|---|---|
| Hammer | Activates a single piece you choose — especially useful on special pieces like arrows or bombs |
| Shuffle | Rearranges all pieces on the board |
| Checkerboard | Turns the board into a checkerboard of two colors, setting up easier matches |
| Energy Boost | Adds energy toward your booster bar based on pieces matched, at no move cost |
| Teleport | Swaps the positions of two pieces you choose |
How to Choose the Right Booster and Perk Before a Match
- Match the booster to the mode. Some boosters perform better in specific studio layouts or modifiers like Rainbow — check what’s active before locking in.
- Pick a perk you understand, not just your strongest one. A Hammer used well beats a Mini Cleo used badly.
- Consider the animation length in timed modes. Slower-animating boosters can cost you time in modes where the clock doesn’t stop.
- Try to snowball your booster. Prioritizing blue star matches to recharge quickly after activating keeps your booster available more often through the match.
Common Match Masters Booster and Perk Mistakes
| Mistake | Better Approach |
|---|---|
| Equipping your rarest booster in every match | Save it for matches you’re confident about — losing forfeits it |
| Ignoring blue star matches to chase big combos | Prioritize blue stars to keep your booster charged and ready |
| Using a perk immediately out of habit | Scan the board first — sometimes holding a perk for a worse moment pays off more |
| Not tracking which perks are free vs premium | Free perks survive a loss; know which type you’re risking |
Match Masters Boosters & Perks FAQ
What's the Difference Between a Booster and a Perk in Match Masters?
Boosters charge mid-match via blue star matches and can be reused once recharged. Perks are pre-selected and used once per match.
Do I Lose My Perk If I Lose a Match?
Free perks are kept regardless of outcome. Premium perks are lost on a loss, the same as boosters.
How Do I Upgrade a Diamond Booster?
By collecting duplicate cards for that specific booster from events, Super Spins, or sticker album rewards — each duplicate pushes it to a stronger stage.
Should Beginners Worry About Rare Boosters Right Away?
Not much — early on, learning to read the board and use Bronze/Silver boosters well matters more than chasing rarity.
Disclaimer: Booster and Perk mechanics described in this guide are based on commonly observed gameplay and available community documentation rather than an official Candivore rulebook. Features, effects, and availability may change with game updates. Gamer Orbis is an independent resource and is not affiliated with Candivore.